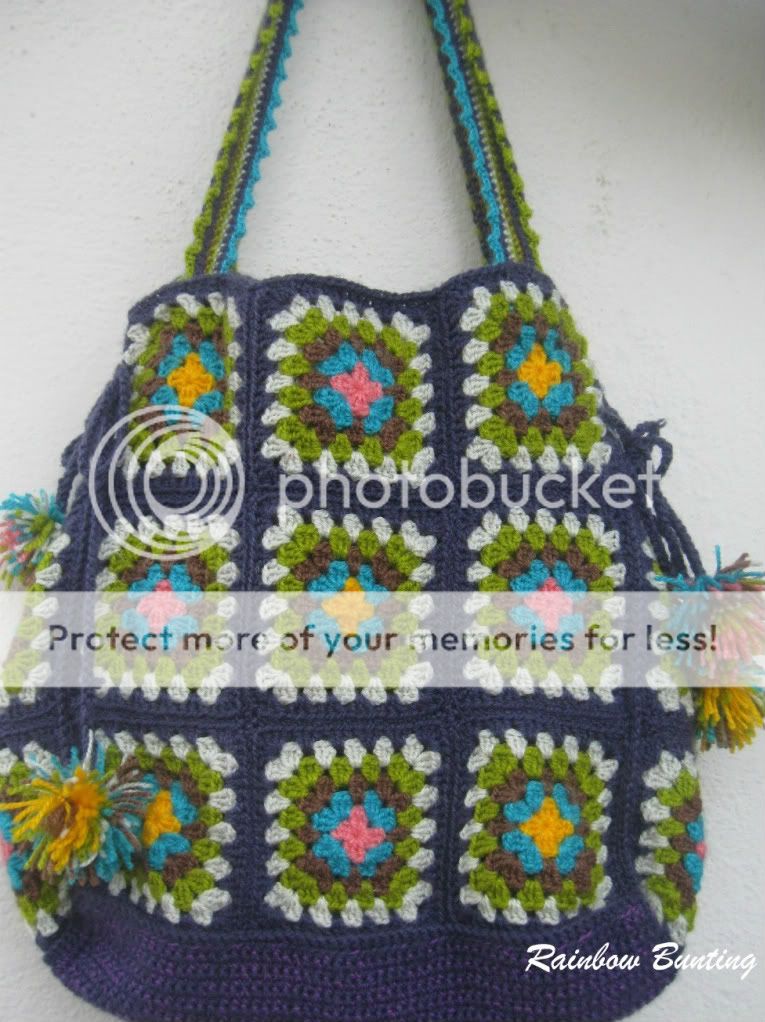
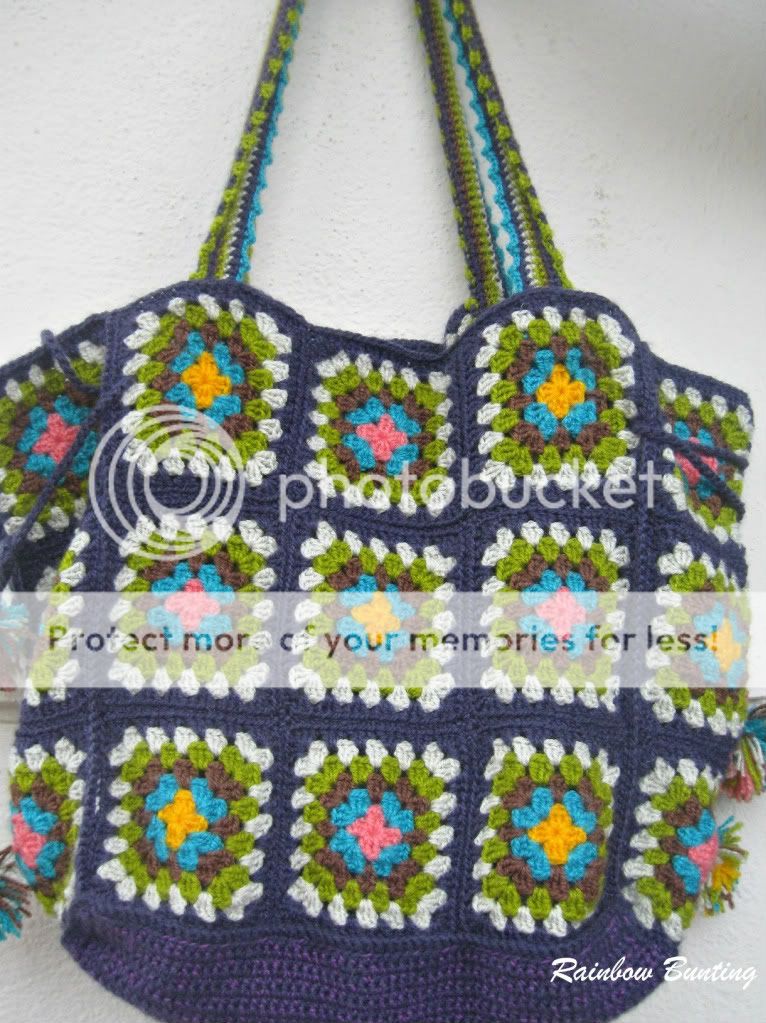
I will not call this a pattern. I am just explaining how I made this bag, step by step.
Step 1 (For the base)
Chain 66
Sc in second chain from hook. 1 sc in each ch till the end.
* Ch1, Turn and sc in all sc of prev row*
Repeat this for 50 more rows
I made this holding acrylic yarn together with a same colored cotton thread. It made the base stronger. (Not my idea, got it from a friend)
Step 2 (For the body)
Make 30 granny squares. (I have made a basic granny square, with just a ch1 space between the corner 3 dc’s. No space anywhere else)
Join 9 granny squares as 3x3, 3 rows 3 columns. I joined these using sc by holding right sides together. This will make the front side. Repeat this to make a back side.
For the sides, join 6 granny squares as 3x2(3 rows, 2 columns). Again sc holding right sides together. Repeat this to make one more side.
To join the sides to the front and back, I used sc holding wrong sides together, so that the edges stand out.
Step 3
Now you can attach the base rectangle to this. sc throughout holding wrong sides together. Make one line of sc along the top of the bag to make the top edges look neater.
Step 4
For the handles, make chains as long as you want the handles to be.
sc in second chain from hook, sc in each ch till end.
Now you can make rows of sc’s with as many colors as you want.
For the edging on the straps
Sl st in first sc, ch3, sl st in same ch, *skip 2, Sl st in next sc, ch3, sl st in same sc *
Repeat from * to * till the end.
Make 2 handles and attach to the bag.
Step 5
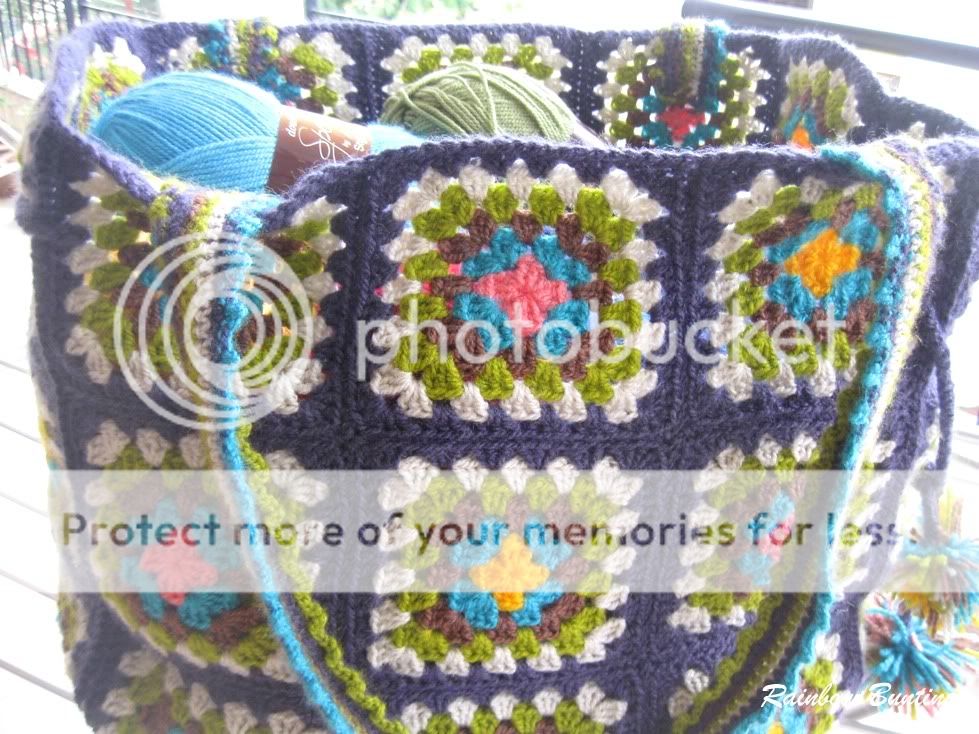
Make two long strings of chains (You can make this by holding two strands of yarn together to make it thicker)
Pass this through the bag as in the image below (it is one of the side panels that you see in the image).
Attach a pom-pom to each end of both strings. You can find lots of video tutorials to make pom-poms. These strings will help you to tighten the opening if necessary (as in the first and second images). Otherwise you can leave it loosely tied as an embellishment. And your bag is ready to go shopping!!
It is my first time writing crochet instructions. I am so used to following them blindly. So if there are flaws, I apologize. And I would love to hear your suggestions. Have a nice day!!
Thanking Sanhitha, a dear friend of mine, for patiently going through this pattern and giving her valuable suggestions. I really appreciate your help!! Please use this only for your personal use, not for commercial purposes. If you wish to share this tutorial or images in it please link back to Rainbow Bunting.


18 comments:
Very nice and the colors are beautiful!
Thank you so much - going to give this a try!
Liz @ Shortbread & Ginger
Lovely bag and a great name too. :)
This pattern is wonderful and the name just darling!
I love the name. The bag is great.
I saw this on my friend's activity. This is beautiful, Saritha. Thanks for sharing it with us.
Gorgeous bag & cute name, i think i would love to try it, i'm a real bag lady :)
Karen x
Hey.. Congrats on the pattern.. and, thank you for providing it for free. :-) The name is so apt for the bag..
the name makes me smile :)
What a perfect name for this bag!
I love it.
Great colours too.
Have a super weekend.
Xx
New follower! Love all of your crochet!
Lovely bag, excellent colour choices and a great name.
For me, think I would perhaps choose to line it to help strengthen it further.
Carol xx
hi , i love your bag its gorgeous and lovely colourful blog too
Hi,
very nice bag with the Granny Squares!!!!!
Greet Crissi
Way to go,Sari!! Lov ethe bag...and thanks for choosing my suggestion for the bag.., gives me a nice warm feeling inside!!
I hav e slowed down on bloggng and crochet at the minute due to preoccupations of the family kind!! My hub is off on a cycling trip from kashmir to Kanyakumari in a coupla weeks to raise funds for a charity we started two years ago in India...pray all goes well!!
Keep in touch...
Hugs,
Ramya
You are very welcome! It seemed to be well loved at Tangled Happy. Wishing you a happy weekend. :)
you should bring this bag for the meet!!! How I missed this one is beyond my understanding!!! Lovely !
trabalhos lindos parabéns xD
Post a Comment