Home

Showing posts with label Bags. Show all posts

Thursday, September 8, 2011

Granny Goes Shopping


I will not call this a pattern. I am just explaining how I made this bag, step by step.

Step 1 (For the base)

Chain 66
Sc in second chain from hook.  1 sc in each ch till the end.
* Ch1, Turn and sc in all sc of prev row*
Repeat this for 50 more rows
I made this holding acrylic yarn together with a same colored cotton thread. It made the base stronger. (Not my idea, got it from a friend)

Step 2 (For the body)

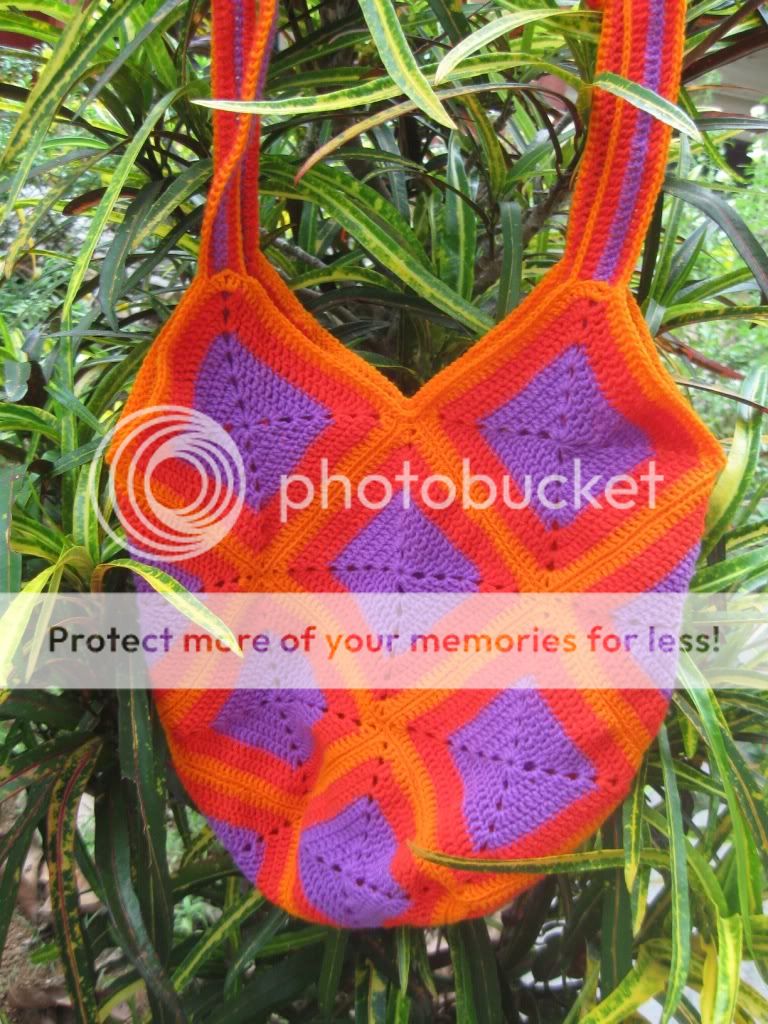
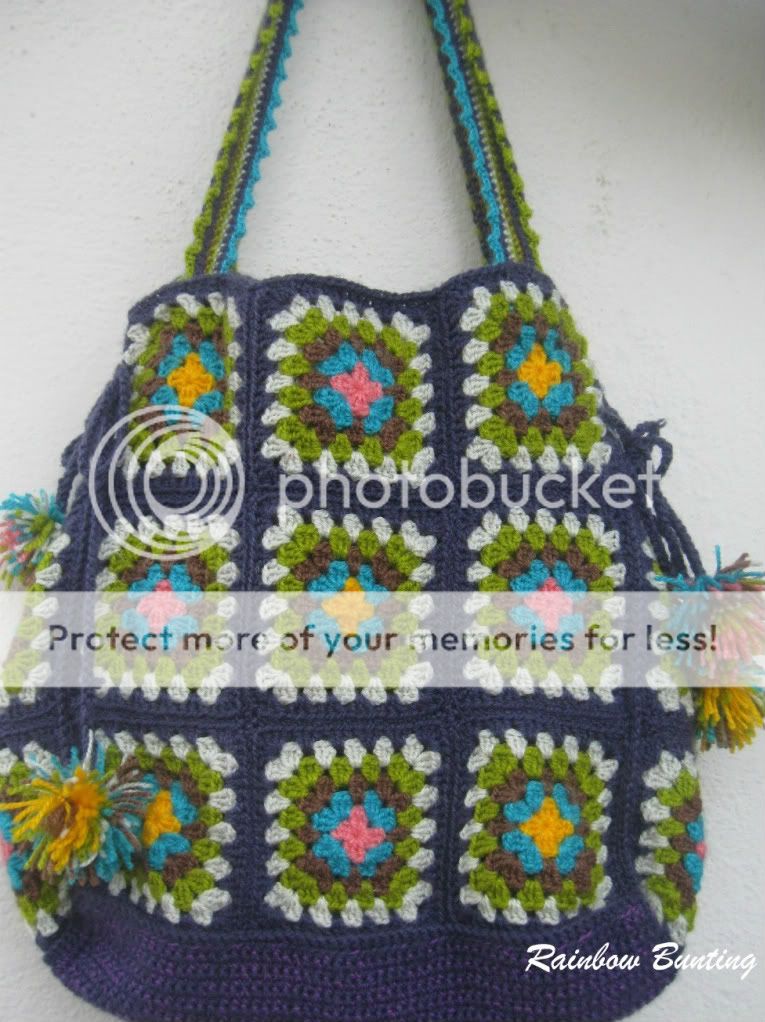
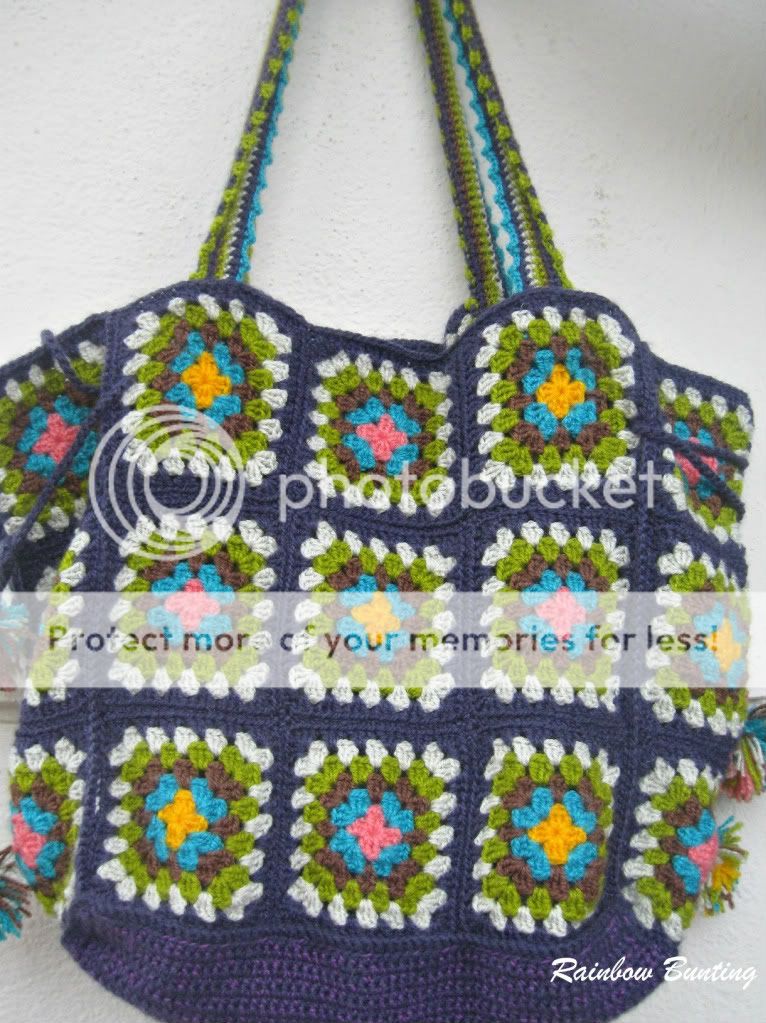
Make 30 granny squares. (I have made a basic granny square, with just a ch1 space between the corner 3 dc’s. No space anywhere else)
Join 9 granny squares as 3x3, 3 rows 3 columns. I joined these using sc by holding right sides together. This will make the front side. Repeat this to make a back side.
For the sides, join 6 granny squares as 3x2(3 rows, 2 columns). Again sc holding right sides together. Repeat this to make one more side.
To join the sides to the front and back, I used sc holding wrong sides together, so that the edges stand out.

Step 3

Now you can attach the base rectangle to this.  sc throughout holding wrong sides together. Make one line of sc along the top of the bag to make the top edges look neater.

Step 4

For the handles, make chains as long as you want the handles to be.
sc in second chain from hook, sc in each ch till end.
Now you can make rows of sc’s with as many colors as you want.

For the edging on the straps

Sl st in first sc, ch3, sl st in same ch, *skip 2, Sl st in next sc, ch3, sl st in same sc *
Repeat from * to * till the end.
Make 2 handles and attach to the bag.

Step 5

Make two long strings of chains (You can make this by holding two strands of yarn together to make it thicker)
Pass this through the bag as in the image below (it is one of the side panels that you see in the image).


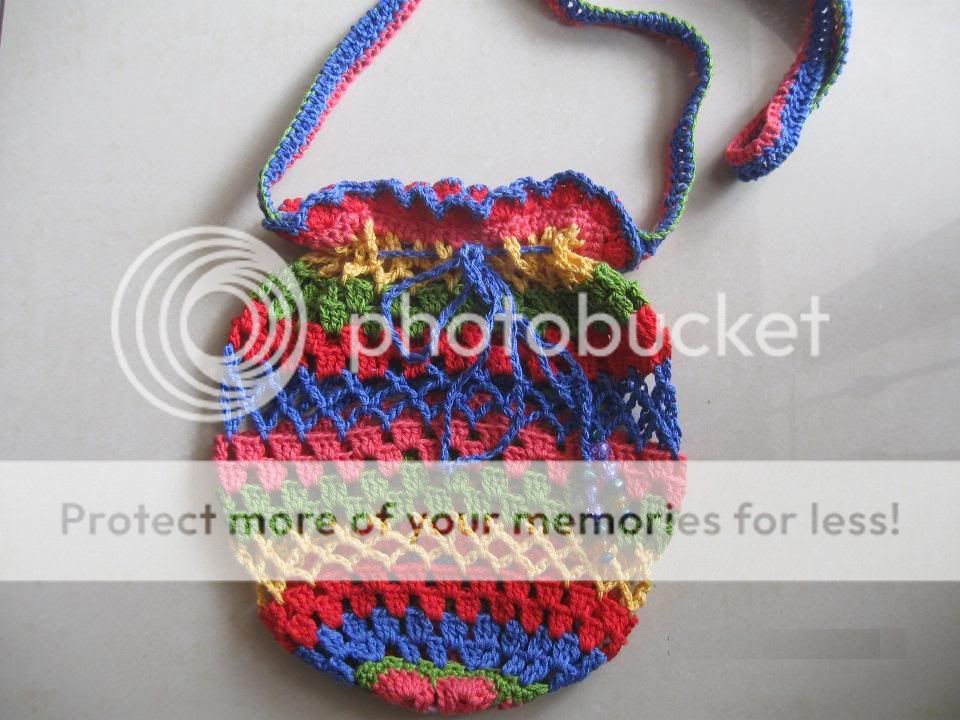
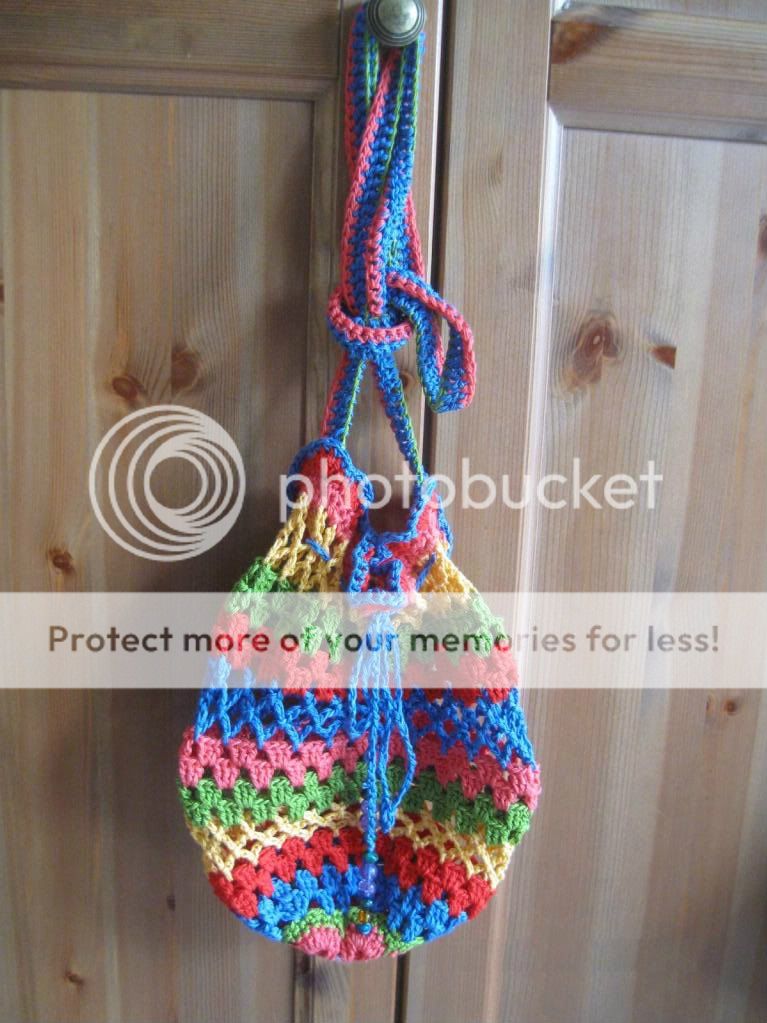
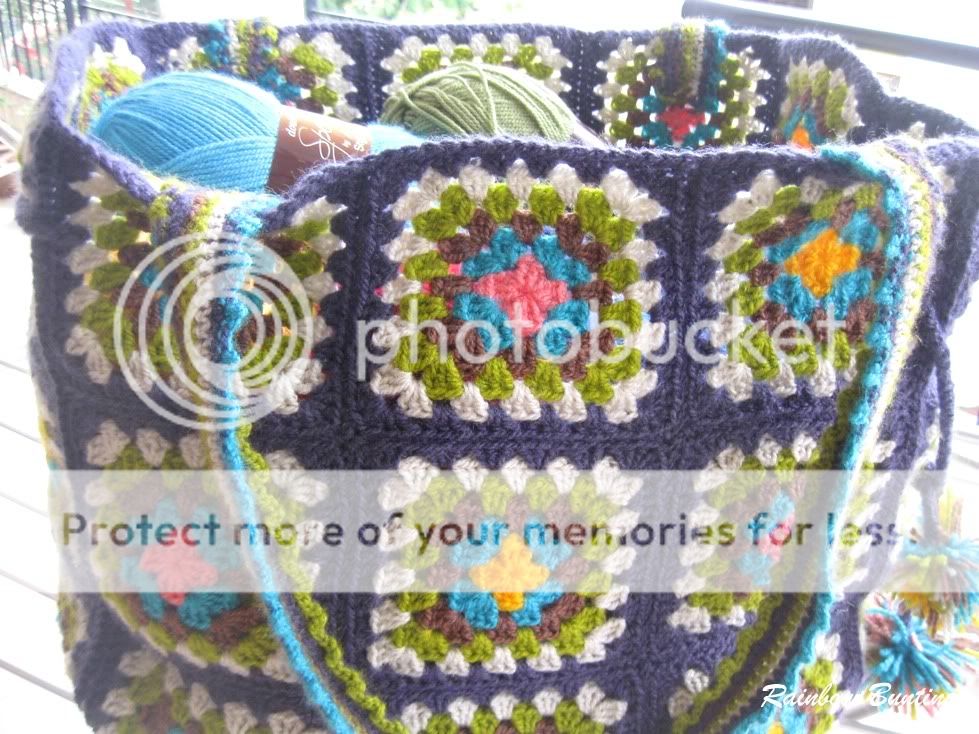
Attach a pom-pom to each end of both strings. You can find lots of video tutorials to make pom-poms. These strings will help you to tighten the opening if necessary (as in the first and second images). Otherwise you can leave it loosely tied as an embellishment. And your bag is ready to go shopping!!

It is my first time writing crochet instructions. I am so used to following them blindly. So if there are flaws, I apologize. And I would love to hear your suggestions. Have a nice day!!

Thanking Sanhitha, a dear friend of mine, for patiently going through this pattern and giving her valuable suggestions. I really appreciate your help!! Please use this only for your personal use, not for commercial purposes.  If you wish to share this tutorial or images in it please link back to Rainbow Bunting.
You can find the pattern page in Ravelry here. The pattern can be directly downloaded in pdf format here. If there are mistakes, please help me in correcting them. Thank you so much to all who suggested names for the bag, especially Ramya who suggested this name.

Monday, August 29, 2011

Yarn and a New Bag!!!

Very warm welcome to all the new followers and a bigggg thank you to all of you who have taken time to leave comments here. I was not able to visit many blogs the past two weeks. Now need to check out everything new happening around.


I ordered 18 balls of the Stylecraft yarn last month. I ordered it in the end of July. I told you I was down health-wise and needed something to cheer me up. I had almost given up hope and thought it's lost when I did not receive the parcel even after 25 days. The people from whom I ordered it online(Deramores) were extremely good and supportive. They even offered to send me a replacement package. But today morning I got it!!!And I am so so happy!!!!


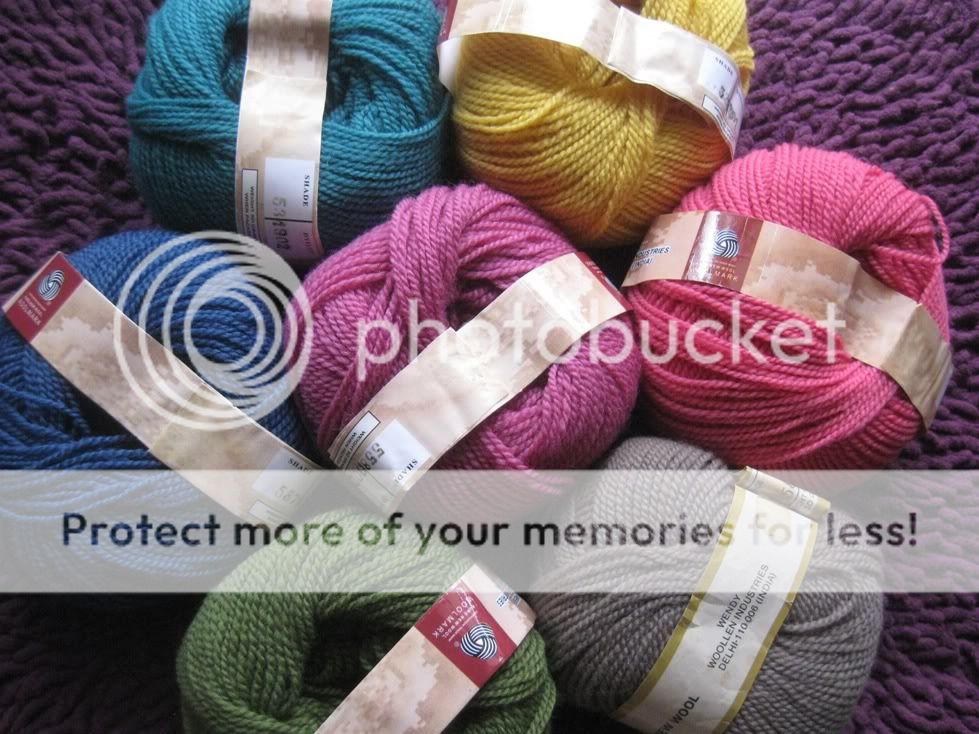
I also bought some pure wool in lovely shades recently. I want to try felting. I know I really went overboard with all the buying. I couldn't help it. I know you all will understand. Although nobody at home does.


This is a bag I made, to use up some of the stash I already have to feel less guilty about all the purchases. It can take the shape of a big shopping bag, a cuter smaller bag, or a square yarn basket. I will share instructions on how to make it, later. And any suggestions for a name for the bag please.

Tuesday, July 26, 2011

Pretty Purse


I had shown you a glimpse of some crochet work in my last post. Here it is. Its a pouch, which can also be used as a sling bag. This was again done as part of a CAL in a group (Good things together) in Ravelry. You can find a tutorial for making this pouch here.


There is a an african flower in the bottom. 


Have a great day!!

Friday, May 6, 2011

Inga bag


My Inga bag is almost done. It needs to be lined. And those who know me must have already guessed that it has been postponed indefinitely.


Pattern here. This was made as a part of a Bag CAL/KAL in Ravelry's South Asian Crafters Group.


I have joined another CAL/KAL in the same group to make amigurumis. It will be my first attempt. Wish me luck!!

Friday, April 8, 2011

Back after a long time!!

I have been away from blogging for a while. Had to be with my mother who was not doing very well. But now she is showing signs of improvement! Praying to god she gets well soon. In between we have shifted to India, so I was busy with that too.I don't think I will be active here for some more time, but will take a peek whenever I can. Because this place is one of my main sources of inspiration.

I was crocheting in between all this to remain sane. First is this bag. Wanted to make Inga's Haekelbeutel since a long time. Making it as a part of a bag KAL/CAL in the South Asian Crafters Group in Ravelry. Iam done with the squares. Now need to find fabric for the lining and sew them up.


I was also working on a cushion. Ripples in rainbow colours. Iam done with the crochet part. Sewing part is left.


Thursday, October 14, 2010

Summer Bag!!!


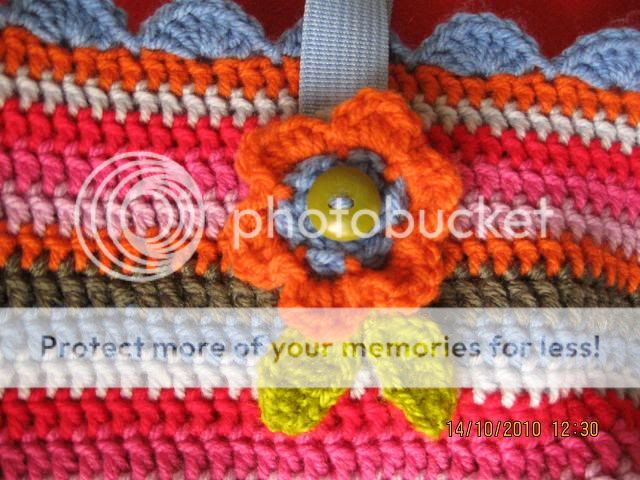
Iam done with the crochet part in my summer bag. Now just the lining part is left. First I need to find suitable fabric. But for now just looking at it is making me happy.

Wednesday, August 11, 2010

My Lucy Bag

My cousin in Canada bought me some acrylic yarn  (She thought thats the only type available) from a dollar store there when she heard about my new hobby. When I showed her my work and told her about the variety of yarn available, she promised me that she would go to some real yarn shop and send me some good yarn when she reaches back. Isn't she sweet?? There were 10 to 12 balls in total. I removed just 3 or 4 from them and the rest looked like a very bright and colourful lot. So I decided I will try to make the Lucy bag(wanted to make one since a long long time). Iam almost done with it. And it looks really pretty if I may say so. Can't help it. I lovvve it!!
Now I need to find a pair of nice handles. Don't have yarn left to make them, so will buy readymade handles. The lining job is also left. I need to reach back in Abu Dhabi to do that since my sewing machine is there.

Tuesday, June 29, 2010

Nordstrom Bag


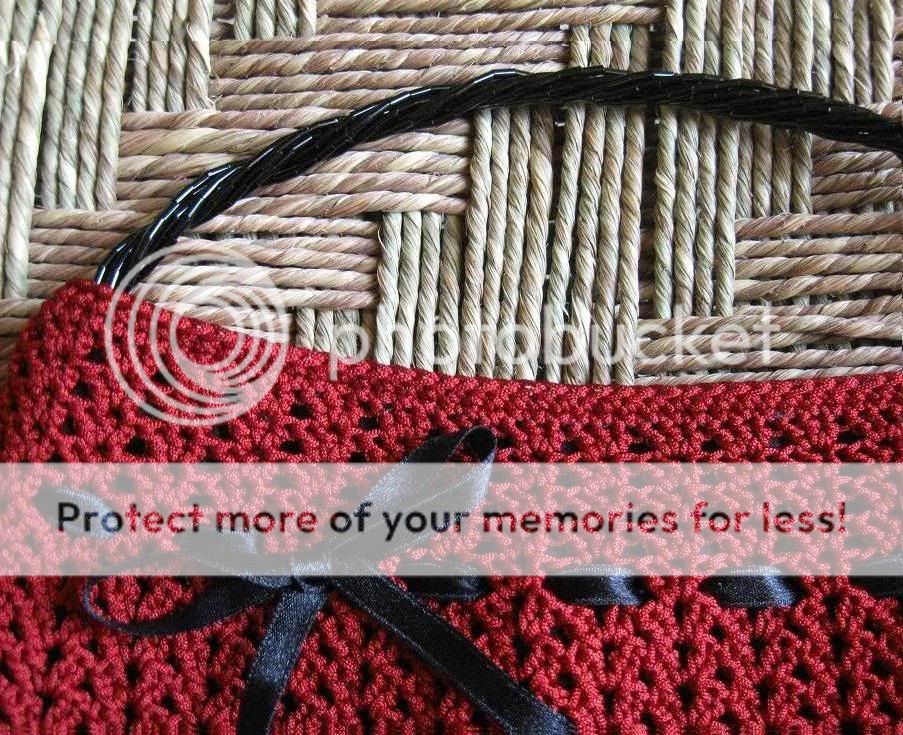
I made this bag as a gift for an Aunt. I wanted to try this pattern since a looong time. So when I decided to make a gift for my Aunt who loves bags, I thought why not. I have made this as an evening bag. The yarn I used has a lovely sheen to it.

Since there are no readymade bag handles available here, I decided to make a handle out of beads. I love how it has turned out. Made a long chain first and then twisted it by holding 5 or 6 layers together. Voila!!


Finished the crocheting part almost a month back. Was too lazy or maybe scared to do the lining job. Finally done with it. Have lined it with black satin because it goes with the evening bag look.


Me happy. Hope she will love it too.

Monday, March 29, 2010

Finito

Finally finished lining the bag about which I had blogged in my very first post. Lining this took a lot of time. First I did hand sewing. But then I felt I should go for machine sewing. It does not look perfect, but Iam pretty happy. Here is a picture of the lining.


Hubby helped me to choose the fabric for the lining. He said this fabric has all the colours that I have used for my bag. And he is right.

Also made a crocheted scarf. It was a quick make and Iam very happy with how it has turned out. The yarn I used is a blend of wool and acrylic. Blocked it with the help of a friend in Ravelry. This scarf will be gifted to a cousin of my husband.


Tuesday, March 16, 2010

Hello

This is my first post and Iam totally confused where to start. Maybe I will get into the flow after a few posts. I have just started to knit and crochet . Teaching myself from online tutorials. And as if that is not enough I have also started to try sewing. I lined a bag that i knit recently. I did hand sewing. Here is a picture of the bag.


Want to learn to use the sewing machine. But the bobbin thread coming from under and overlapping with the main thread is not working and I cant figure out why. All rocket science as of now. I will post pictures of the lining work later.